Water Damage Restoration: Our Step-by-Step Process
From assessment to drying to rebuild — our IICRC S500 process explained. Typical 3–7 day timeline. Greater LA: 818-797-9517.
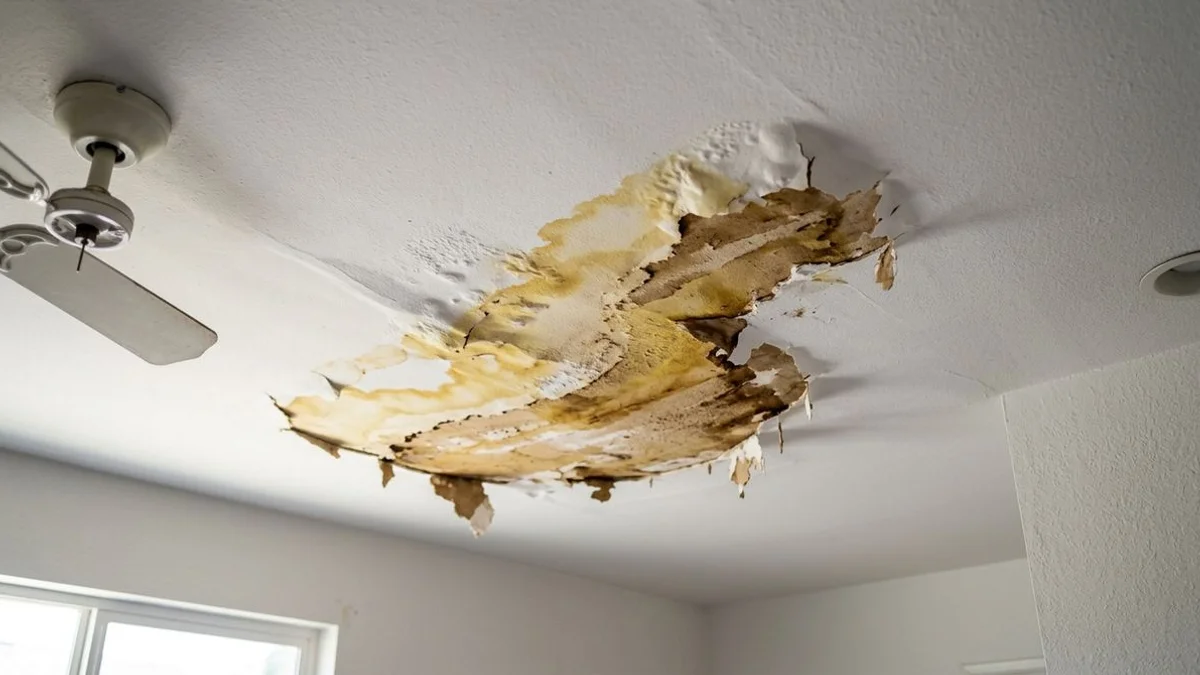
Every property emergency brings its own chaos. We know that most homeowners have never seen the complete water damage restoration process from start to finish. The reality is far more involved than just extracting water and running some fans.
Our approach relies on a sequenced, measured procedure to protect your home from secondary damage and support your insurance claim.
The following water restoration steps break down the specific tools and data points involved. We want to show you exactly what our water damage restoration service actually looks like, day by day.
Step 1: Inspection and IICRC Cat-1/2/3 classification
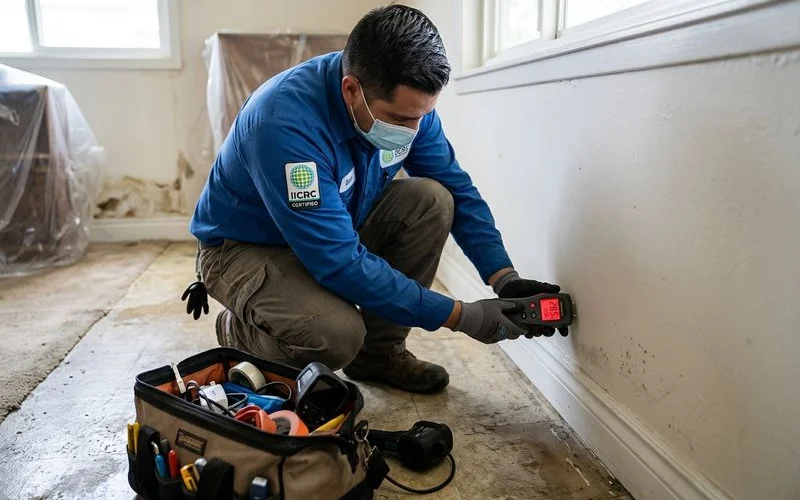
The first hour on site is purely diagnostic. We rely on the 2026 IICRC S500 Standard for Professional Water Damage Restoration to guide every decision. An IICRC-certified inspector walks the affected area, takes initial moisture readings, and photographs everything for the insurance file. If you’re not sure whether a leak is active yet, our guide on the signs of hidden water damage walks through the visual, olfactory, and behavioral cues to look for first.
Our team uses specialized tools like FLIR thermal imaging cameras during this phase. Evaporating moisture creates a cooling effect, which allows the thermal camera to detect hidden water pockets behind drywall or under hardwood floors. We classify the water source per the S500 guidelines:
- Category 1 (clean): Supply-line failures, water heater leaks, or ice maker lines present the lowest risk.
- Category 2 (gray): Appliance overflows, dishwasher discharges, or aged Cat-1 water carry significant biological contamination.
- Category 3 (black): Sewage backups, storm flooding, and standing water older than 48 hours require maximum PPE and specialized disposal.
Classification dictates everything that follows. We use these categories to determine containment requirements, salvageable materials, and specific cleanup chemicals. Your adjuster will also need to know the Class of water damage, which measures the amount of water and difficulty of drying. We document whether the loss is a simple Class 1 or a dense Class 4 situation involving plaster or concrete.
Step 2: Water extraction
Standing water comes out first, usually within the first hour. We deploy truck-mounted extraction units that pull water through high-vacuum hoses.
The EPA and FEMA strongly recommend starting this drying process within 24 to 48 hours to prevent mold growth.
Our extraction strategy aggressively targets hidden water. For carpets and pads, technicians operate motorized, weighted extractors. We ride on these machines to compress the flooring with our body weight. This physical compression squeezes out the water like a sponge.
We extract significantly more water using this weighted method compared to standard wands, which reduces the overall drying time. For Category 3 jobs, the process shifts entirely. We remove and bag contaminated carpet, pad, and porous wall materials for compliant disposal rather than attempting to dry them. The water itself is simply too biologically active to leave absorbed in any structural materials.
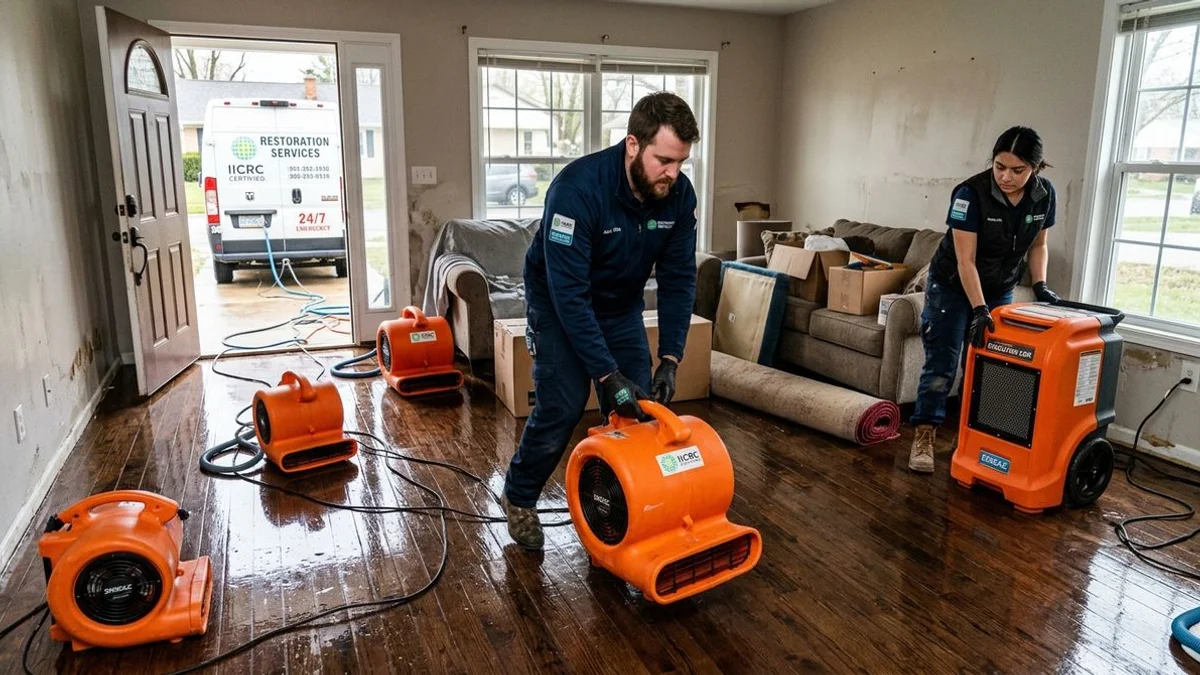
Step 3: Structural drying setup
We install two main classes of industrial machinery to handle the evaporation process:
- LGR dehumidifiers: Low grain refrigerant units pull humid air below 55 grains of moisture per pound.
- Centrifugal air movers: High-velocity fans push up to 3,000 cubic feet of air per minute (CFM) across damp surfaces to keep the boundary layer from saturating.
These specific tools do most of the actual moisture removal. Our typical 200-square-foot water damage zone requires one LGR dehumidifier and four to six air movers. Without this precise airflow, materials dry on the surface but trap moisture deeper inside.
We scale up the equipment count for larger losses. Commercial-grade restoration units can remove 150 to 250 pints of water per day from the environment.
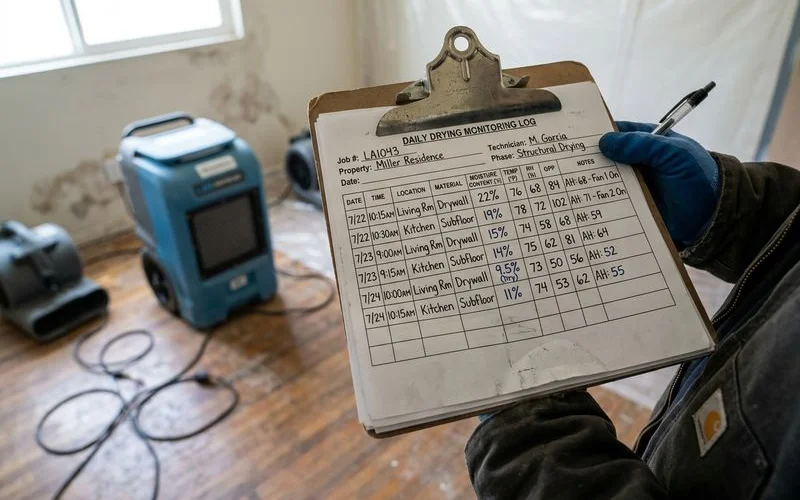
Step 4: Daily monitoring and adjustment
We use advanced diagnostic tools like the Delmhorst Navigator Pro to take moisture readings on every wet material. This specific meter features 37 different material presets, ensuring highly accurate data on everything from pine studs to drywall.
Our daily log maps out what is drying fastest and slowest. Adjusters expect to see these daily readings and timestamps to justify the equipment usage. We shift air movers and dehumidifiers around based on this concrete data.
This documentation step represents the most important and least visible part of the job. We know that a drying setup that looks fine to the naked eye can still leave hidden moisture in wall cavities or under flooring. That trapped moisture inevitably becomes a mold problem in 30 to 60 days.
Step 5: Antimicrobial application
We treat structural framing and subfloors that touched contaminated water to prevent dangerous pathogens from spreading. Category 2 and Category 3 jobs require this EPA-registered antimicrobial application to any preserved surfaces.
Our preferred treatments include botanical disinfectants like Benefect Decon 30. This specific product is an EPA-registered formula that kills bacteria and inhibits mold growth without leaving harsh chemical residues behind.
We use these sprays to reduce the risk of biological problems while the drying phase finishes. Antimicrobials are never a substitute for thorough drying, but they provide a critical layer of protection for your property.
Step 6: Verification, meeting the moisture target
We establish a natural equilibrium moisture content baseline by testing an unaffected area of the home. The equipment stays running until the damaged zone matches this specific target.
Our technicians must verify several hard metrics before pulling the machines:
- Wood: Must read below 15% moisture content, verified with a pin meter.
- Concrete subfloors: Must read below 4% moisture content.
- Drywall: Must fall within 1% of the dry-area equilibrium reading.
These strict numbers are not just suggestions. We follow the IICRC S500 standard strictly because insurance carriers expect to see these exact metrics verified. They will not close out the mitigation portion of the scope without this final proof.
Step 7: Reconstruction handoff (or not)
We eliminate that frustrating handoff by managing the entire rebuild ourselves. Most restoration jobs split into a separate contractor relationship right after the mitigation phase.
Our CSLB B General Building Contractor license allows us to directly transition into drywall, paint, flooring, cabinetry, and finish carpentry. The industry average for claim negotiation between separate mitigation and rebuild companies can add weeks to a project.
We deliver one scope, one contract, and one clear timeline to keep everything under the same project umbrella. The homeowner avoids insurance re-negotiations, second deductibles, and the stress of vetting a brand new contractor.
Typical timeline
We respond immediately because standard insurance policies typically require mitigation action within 48 hours to cover the claim. Every residential water-damage event follows a predictable schedule based on the severity of the loss.
Mitigation and Rebuild Schedule
| Project Phase | Expected Timeline | Key Actions Completed |
|---|---|---|
| Emergency Response | Day 0 | Call, dispatch, arrival within 45 minutes, extraction begins. |
| Initial Drying | Day 1 | Drying equipment setup, antimicrobial application, first readings. |
| Active Monitoring | Days 2-5 | Daily moisture tracking, equipment adjustment. |
| Verification | Days 6-7 | Target moisture met, equipment removed, post-drying inspection. |
| Reconstruction | Weeks 2-4 | Drywall, paint, flooring, and final finishes installed. |
We usually complete the core mitigation portion in 3 to 7 days. Larger commercial losses or Category 3 events will naturally scale up this structural drying timeline.
Our team manages the reconstruction phase based on the specific material scope and replacement lead times. Reach out to our emergency dispatch line today if you need immediate guidance on your property loss.